The Cinnamon Roll Edition
My new favorite black sesame roll, ideas for a Mother's Day brunch, a fun variety pan of cinnamon rolls and more!
This newsletter contains several important components:
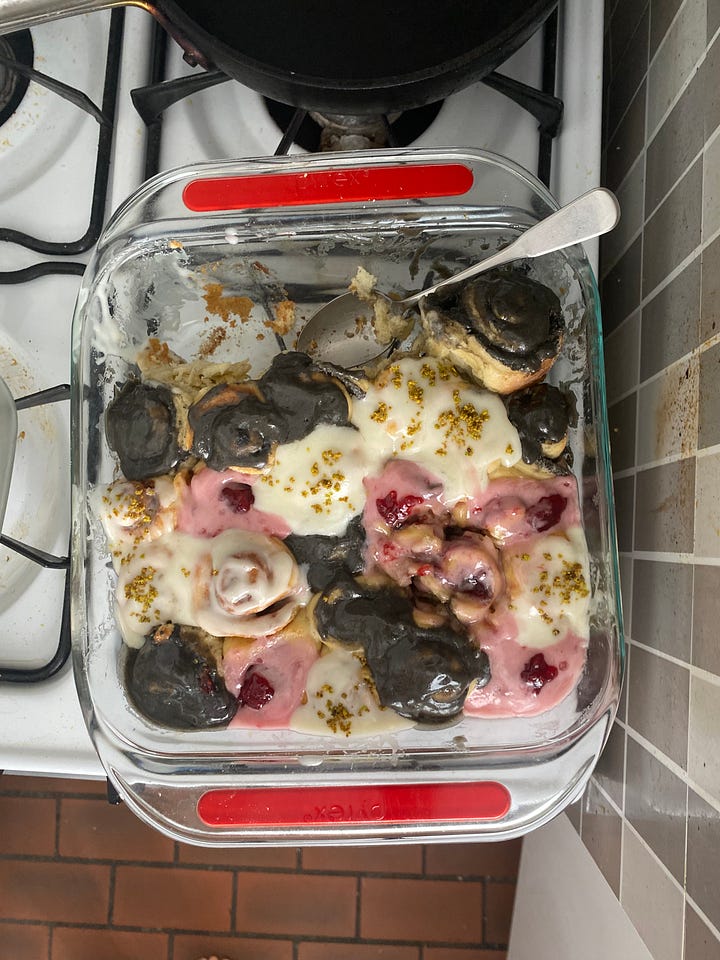
Blondie bake off invite: first dibs for my paid subscribers!
Deep dive into cinnamon roll dough technique: what’s the difference between kneading, folding and no-knead dough?
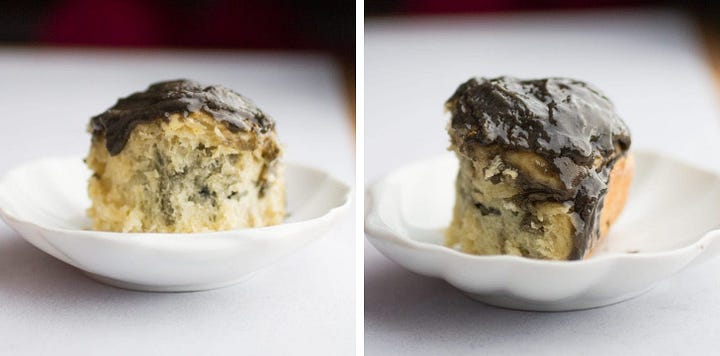
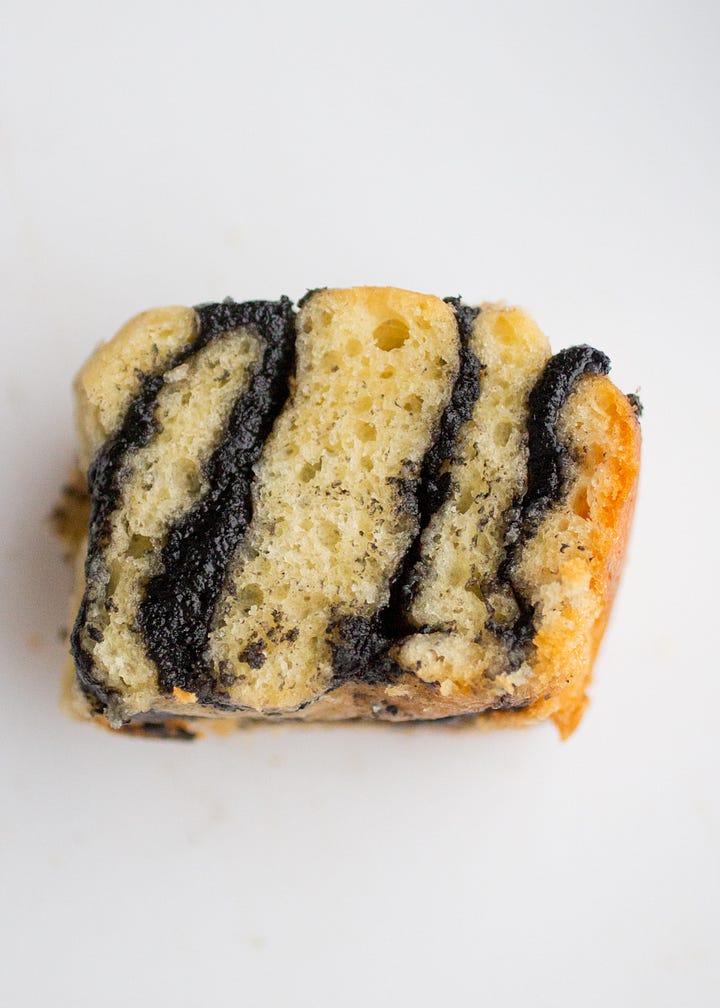
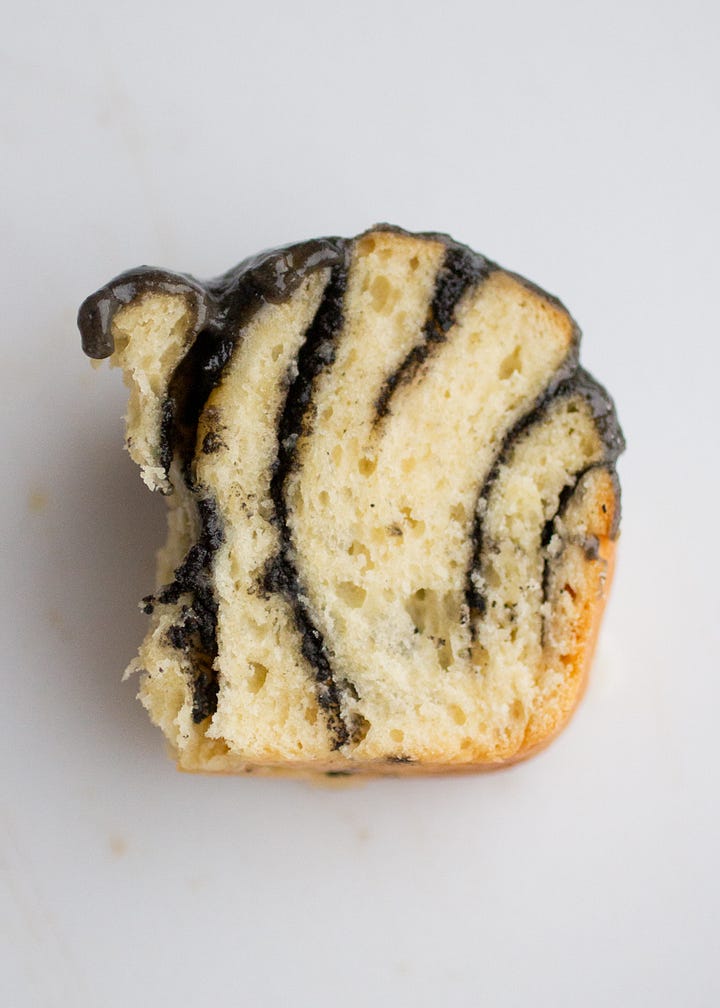
Black sesame roll recipe: My black sesame roll that will actually be available for sale exclusively through From Kora’s upcoming pop up charity box!
Recipe inspiration: A chocolate box, but make it cinnamon rolls.
Mother’s Day brunch inspiration: My recommendations from my more brunch-y bake offs.
BAKE OFF INVITE
If you’d like to be a taster at my next bake off, check the link at the bottom of my post!
DEEP DIVE: CINNAMON ROLL TECHNIQUE

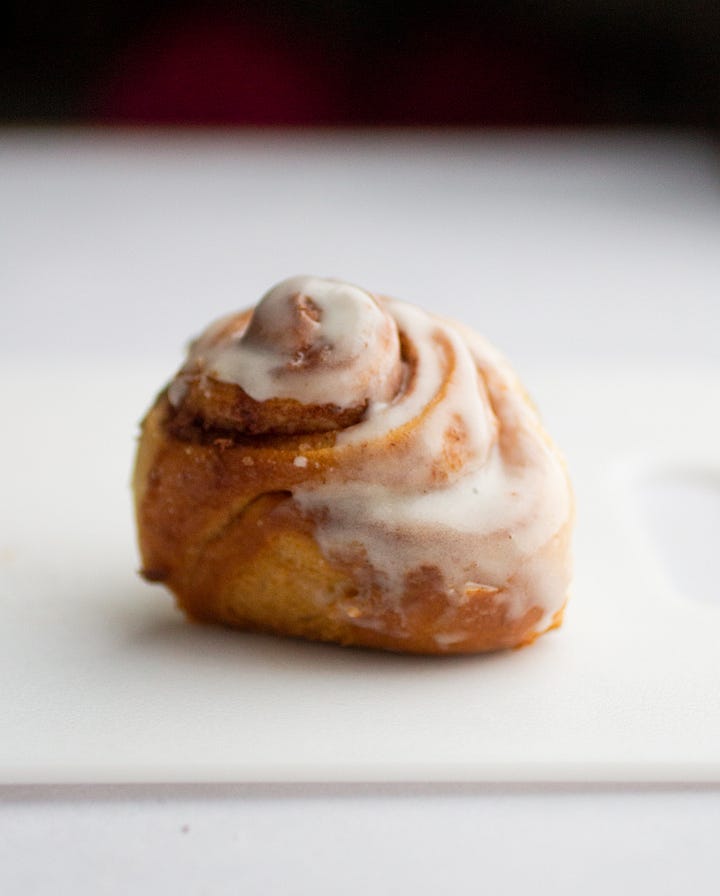
Ever since completing the cinnamon roll bake off, I’ve been loyal to a single cinnamon roll recipe: Sarah Kieffer’s. The dough is plush, buttery and never dry. It calls for an overnight rest in the fridge and the cold dough rolls out like a dream.
However, there is one inconvenience that stops me from making the recipe as often as I’d like: the recipe calls for a series of folds that occur every 30 minutes over the course of 2 hours. Trying to leave the house? Better not!
The dough then calls for an overnight rest which I do love for make-ahead purposes. But when the impulse strikes for cinnamon rolls, I rarely have the foresight to start the batch a day ahead. Which leads to today’s experiment:
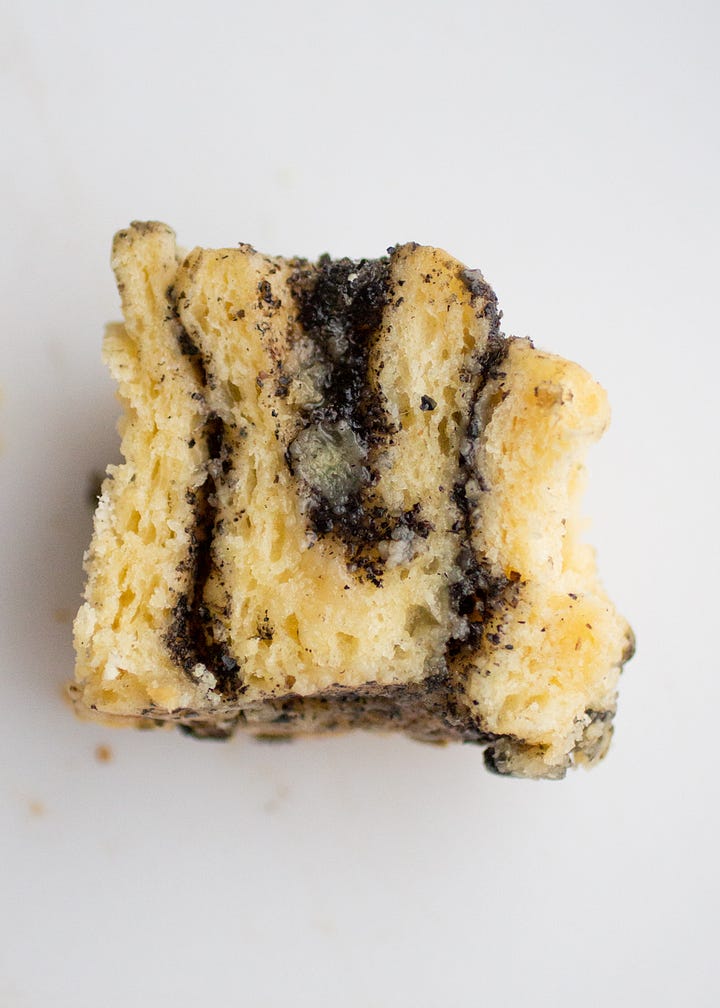
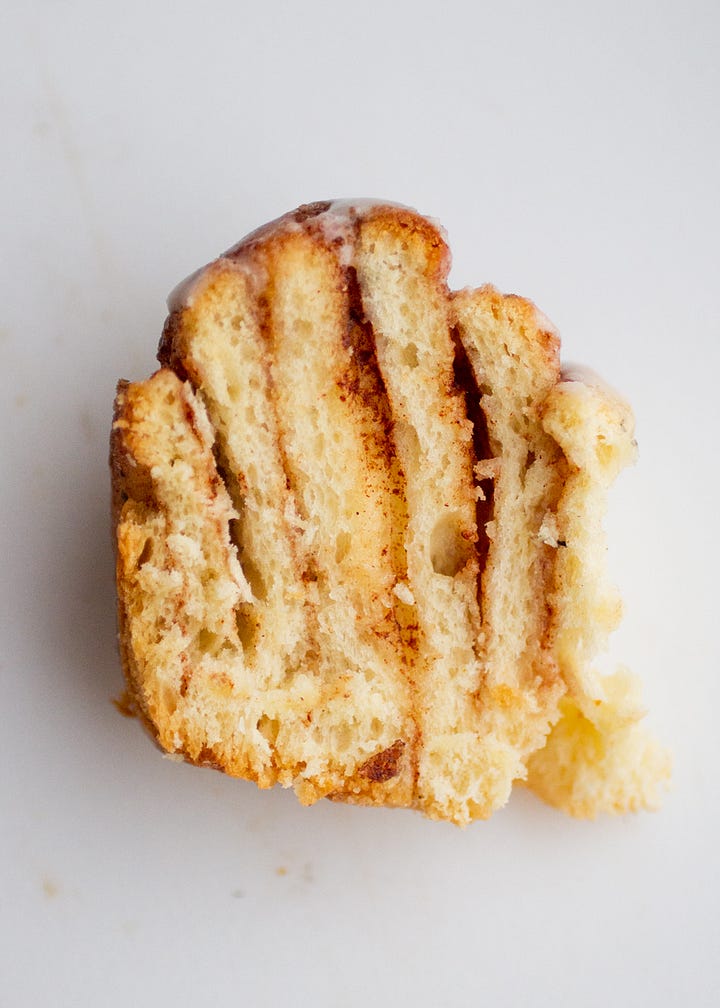
Original version: Made according to Sarah’s original recipe which calls for mixing the dough, letting it sit for 2 hours (you fold the dough every 30 minutes) before going in the fridge for an overnight rise before shaping (rolled out, sprinkled with cinnamon sugar, cut and allowed to let rise for 1-1.5 hours before baking). Per Sarah, she folds the dough because it’s a less intense way to develop gluten—she gives a nod to this America’s Test Kitchen article. Essentially, folding is more gentle than kneading and it also helps the dough rise more evenly as you work any large air pockets out of the dough as it rises.
Traditional kneading: With this dough, I mixed the dough and then let the mixer run on low for 10 minutes for a more traditional kneading technique. I tested this both with a 1 hour rise at room temperature and a 1-2 hour rise in the fridge before shaping.
Traditional kneading + overnight rest: This dough followed the same process as above except after the 10 minutes of kneading, it went into the fridge for an overnight rest before shaping the next day.
No-knead + 2 day cold ferment: With this dough, I halved the amount of yeast, mixed the dough and put it straight into the fridge (no kneading). After a 2-day rest, the dough gets shaped. This method came from the advice of Artisan Bryan who says he doesn’t typically stretch enriched, yeasted doughs. Although this technique takes even MORE time than the original, I was curious to see how the dough would compare—and it did eliminate the 2-hour folding period.
Ultimately, after testing four doughs—which was my favorite?
Keep reading with a 7-day free trial
Subscribe to Tasting Notes to keep reading this post and get 7 days of free access to the full post archives.


